


Products
Solutions
Resources
Company
Guardsquare workflows can be easily automated as part of your CI/CD pipeline using Bitrise. In this blog, I will show you an example of how Bitrise can be set up to include Guardsquare’s testing and protection products into your existing workflows to produce protected builds. You can easily adapt the example to suit your particular environment.
Required knowledge: you need to have general knowledge about Bitrise. No special knowledge or expertise is required to get the integration up and running.
Create a service account for use with the Guardsquare CLI:
ssh-add --apple-use-keychain ~/.ssh/<your-key-file-name>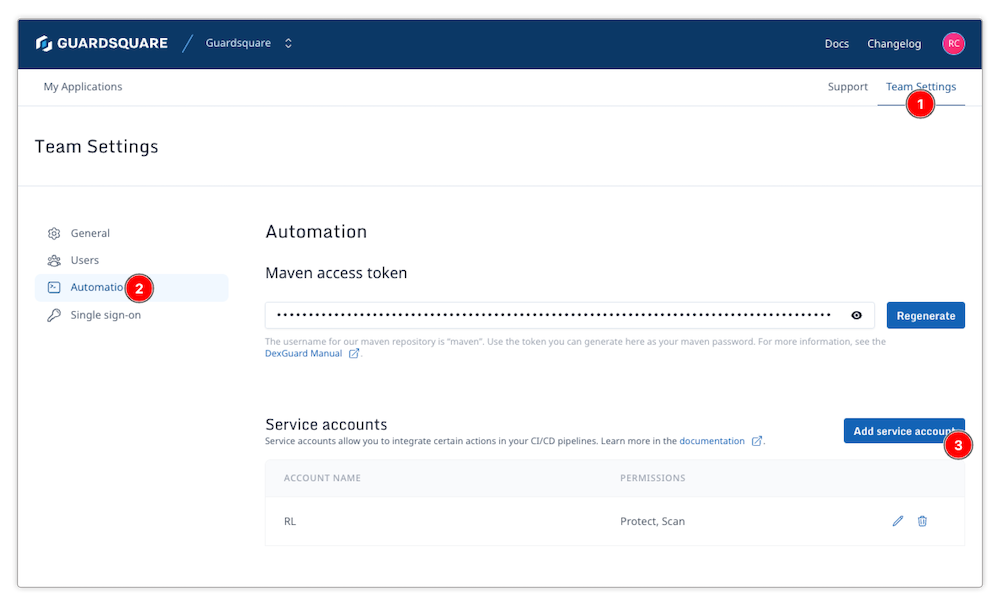
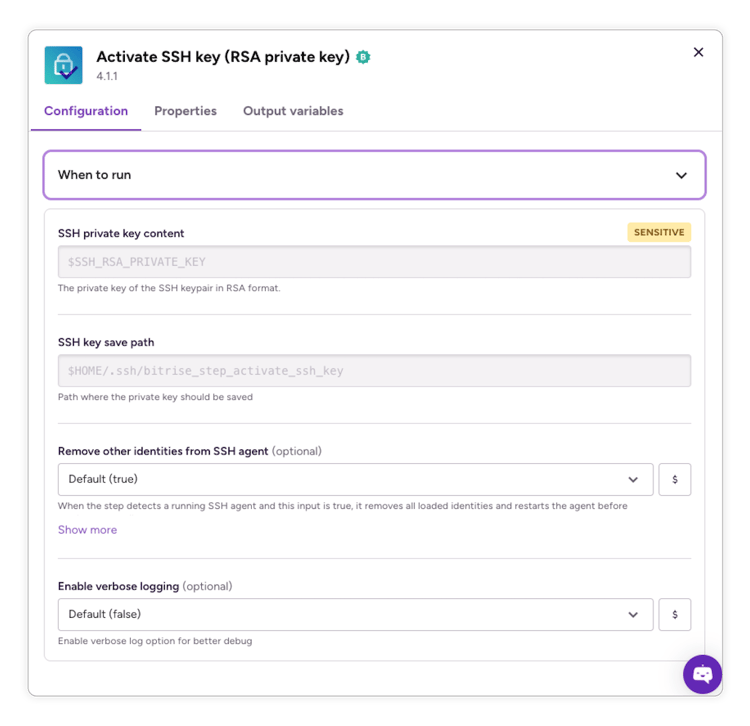
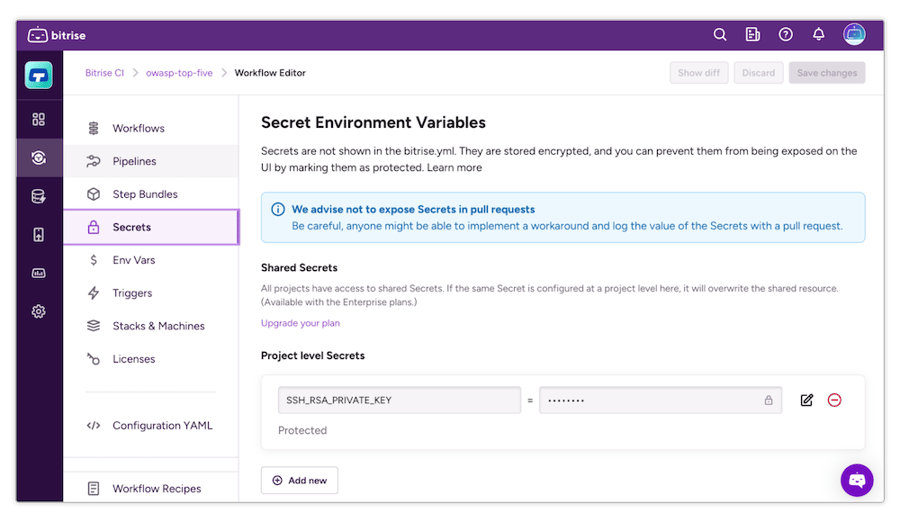
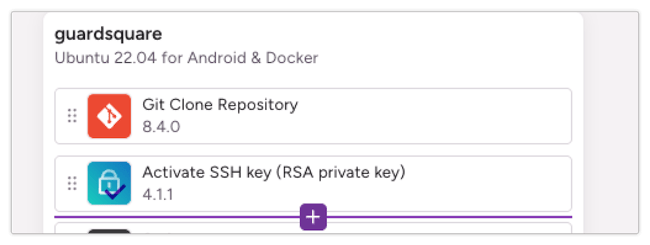
Add the Activate SSH Step to your Bitrise workflow. The default settings should be sufficient. This step will be used to activate the SSH key you generated as part of your service account.
Ensure you have set up the Guardsquare Gradle plugin in your Android Studio project locally. Once done, ensure the public key can be used by the Gradle plugin as part of your workflow:
The SSH key can be used by the Gradle plugin automatically.
In the plugin you can easily specify different build flavors, and in the CI environment, it is best to set the noBrowser option to true.
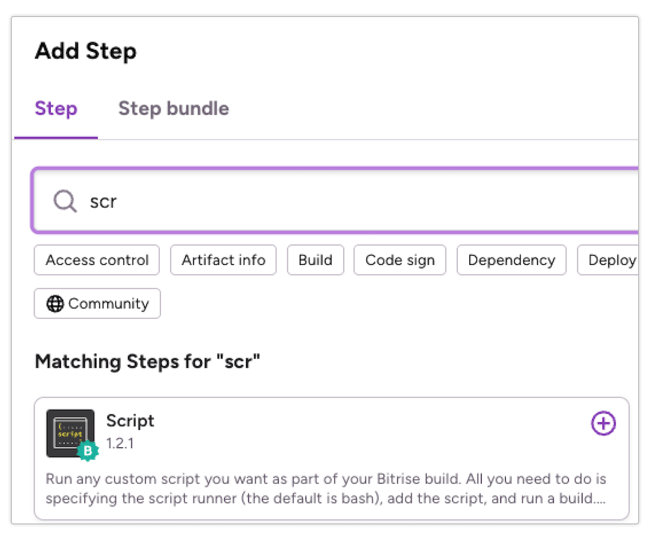
Adding the Guardsquare protect step to your Bitrise workflow is as easy as adding a Script as a Step in your workflow:
The above will run the guardsquareProtectApk command using the configuration file you specified in your local build.gradle guardsquare block assuming you checked in the made changes:
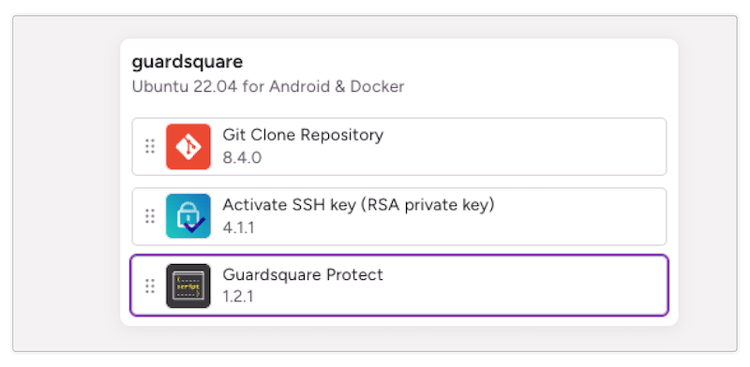
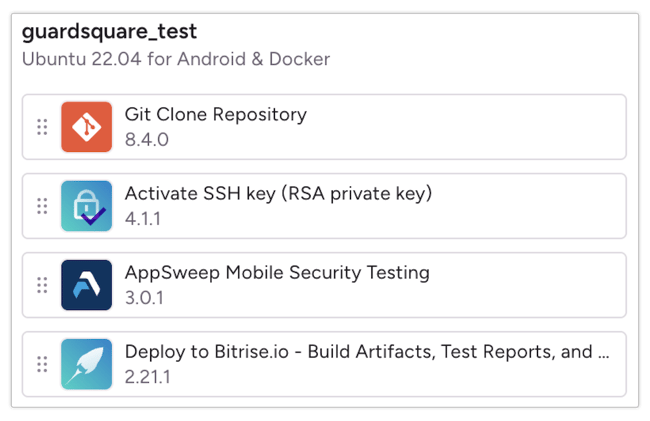
And will then zip & store the content of the app/build/guardsquare/out/protected/ directory in the bitrise deploy directory so you can download the artifacts from the build server later. The final Workflow should now consist of the following Steps:
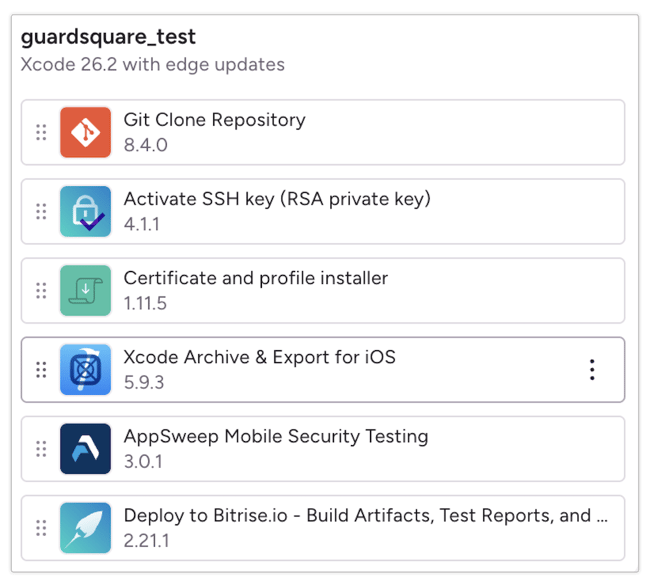
Adding the Guardsquare protect flow to your Bitrise workflow for iOS, is as simple as adding 2 scripts & changing the Toolchain that will be used by Xcode when building the project:
To the script, add the following lines:
These commands will install the Guardsquare CLI & toolchain on the build system without the need to interact with the CLI itself (assuming your SSH connection is correctly set up)

TOOLCHAINS="com.guardsquare.ixguard"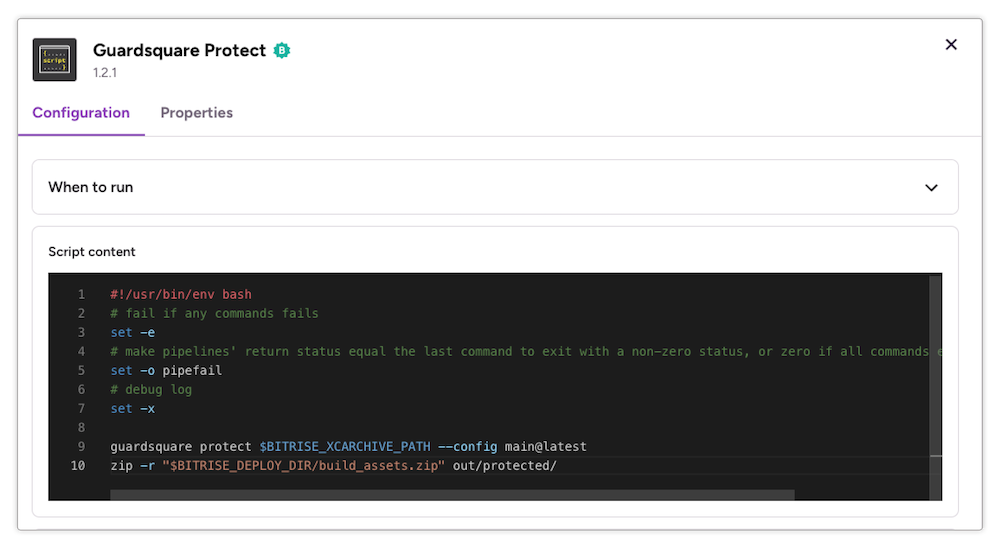
The above commands will protect the created xcarchive with the mentioned main@latest configuration file & will then zip the created artifacts into the build assets you can download after the build finished.
Adding Security Testing to your Bitrise workflow enables you to continuously scan your application for security issues, without any manual steps. With fast and easy integration, AppSweep is the most efficient way to shift left and tackle security issues as early on in your SDLC as possible. To add the Security Testing step to your workflow, you can go through the following (for both Android and iOS):
We recommend scanning your unprotected application, as that will give the most comprehensive results of the vulnerabilities in your application. In your pipeline, this can e.g. then look like the following (for Android):
Or like the following (for iOS):
Note: We recommend scanning your unprotected application as that will give the most comprehensive results of the vulnerabilities in your application.
By default you do not have to configure anything. The step will pick up the app that was just built in one of the previous steps, upload it (together with the mapping file (Android) and dSYM files (iOS).
The build logs will contain the scan URL:
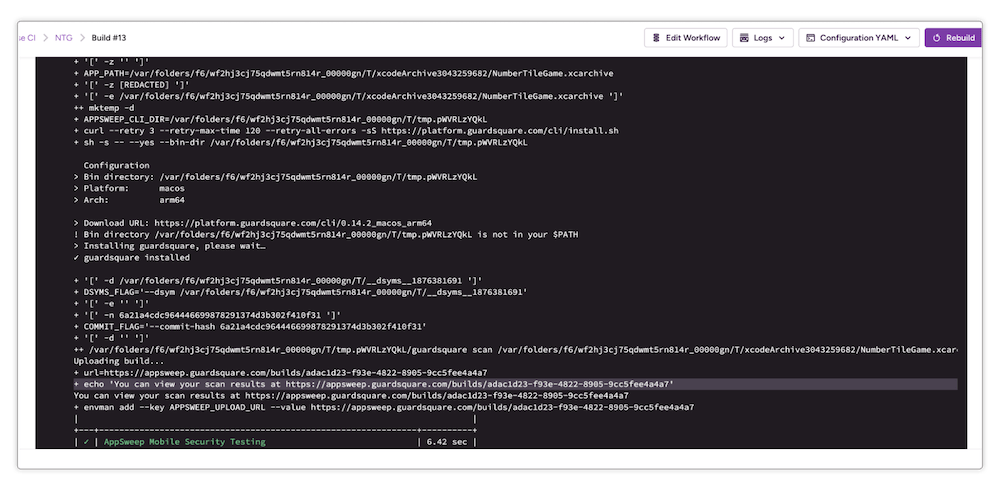
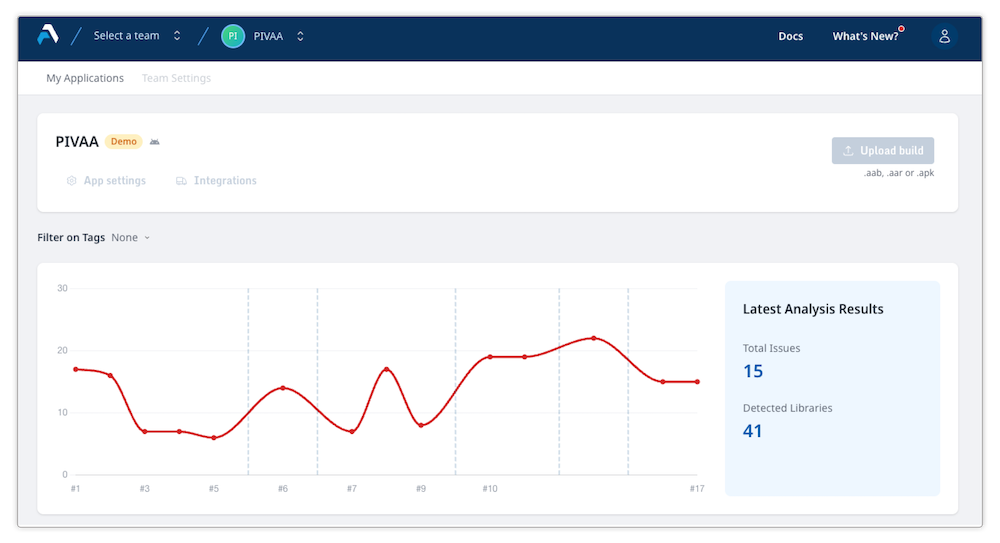
You can access the detailed results in the Guardsquare platform.
Automating and integrating Guardsquare’s protection and security testing products into Bitrise pipelines allows you to shift left so you can detect and fix security issues as soon as possible while keeping all of the created builds protected in an automated way. The integration of the tools boils down to:
The Guardsquare platform allows teams to view security testing results and protection reports to monitor newly introduced issues or degradations in protections.
 You can easily modify this process to incorporate your own logic, such as application security scanning, email notifications, and more.
To learn more about Guardsquare, get in touch with us today.
